CLIP STUDIO
1. How to apply Brush files
1-1. How to apply brushes to PC Ⅰ
•
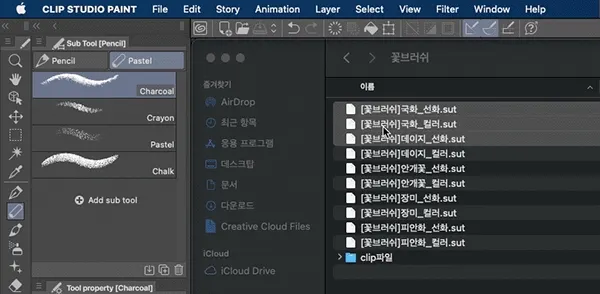
Drag&Drop sut files to the Sub Tool panel.
1-2. 1How to apply brushes to PC Ⅱ
•
Select Import sub tool to Import directly in the Sub Tool panel.
1-3. How to apply brushes to iPad Ⅰ
•
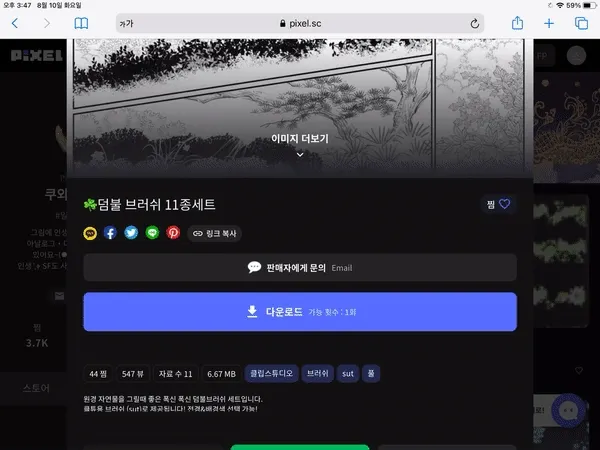
Download the purchased contents from PIXELsc using Safari.
•
When the download starts, check the files in the download lists that appears near the address bar.
•
Unzip the contents downloaded from the File app.
•
Press and hold files, touch Share, and then select the Clip Studio app.
•
Brushes will be saved in the Sub Tool panel of Clip Studio.
1-4. How to apply brushes to iPad Ⅱ
•
Download the purchased contents from PIXEL using Safari.
•
When the download starts, check the files in the download lists that appears near the address bar.
•
Unzip the contents downloaded from the File app.
•
In the Sub Tool panel of Clip Studio, go to Import sub tool and import the downloaded brushes.
2. How to use Brushes
2-1. Color adjustment for the ‘Line Art’ brush
•
The Line Art brush changes the brush color by changing the selected main color and sub color.

Reference: Default brushes with color applied cannot be changed in the same way.
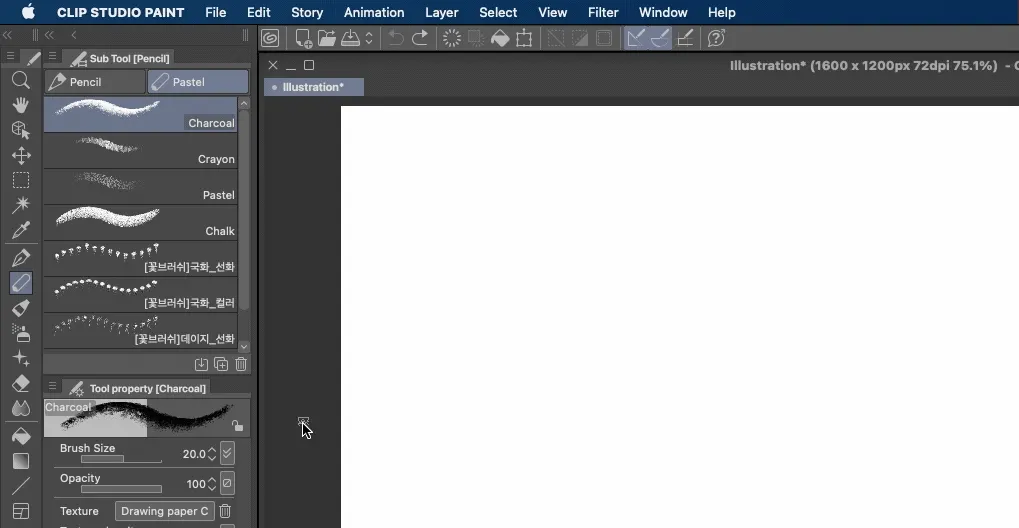
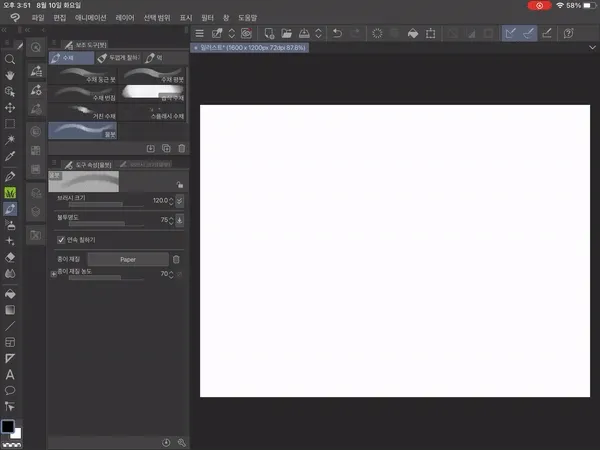
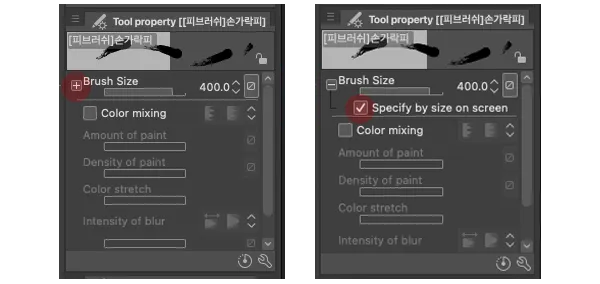
2-2. Size adjustment for the ‘Default’ Brush
The brush can be resized by shortcut [ , ]. In order to use the brush size beyond the set maximum value, the following settings are required.
•
Click + in the Brush size panel.
•
Check Specify by size on screen
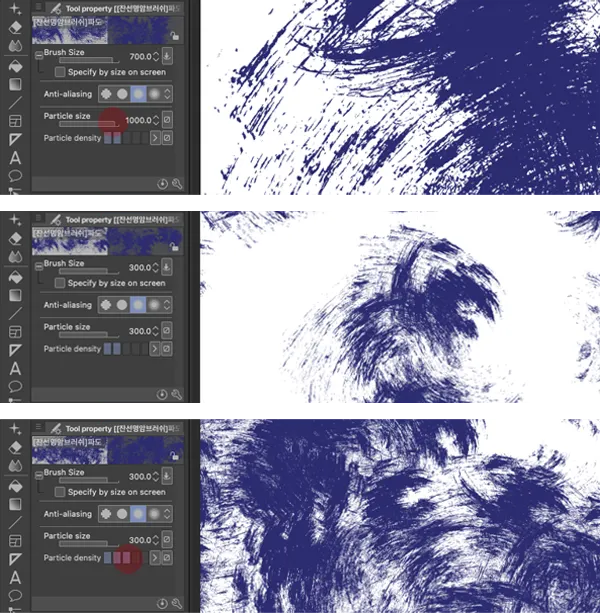
2-3. Size adjustment for the ‘Particle’ Brush
If there is no change in size when using even after changing the brush size, please check whether the brush uses particles. When working on a small canvas, If the size is the same even after reducing the brush size, it is the brush that uses particles. For particle brushes, the brush size can be changed in the following ways:
•
Adjust Particle size in tool property.
•
If the particle size is adjusted, particle density will be changed.
•
Adjust Particle density so that it can be used according to the changed particle size.
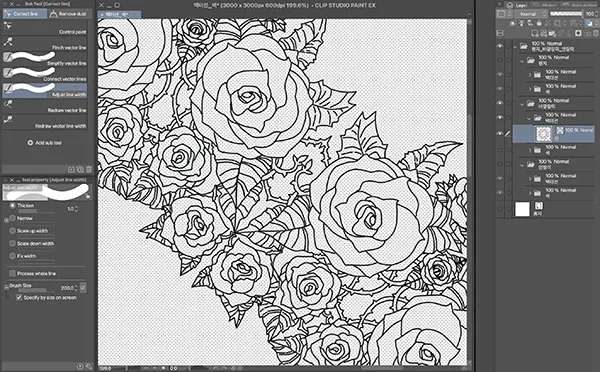
2-4. Thickness adjustment for the ‘vector’ Brush
To change the thickness of vector brushes, the foreground and background colors should each be black and white, which is the default option.
•
Select the Layer for changing the brush thickness.
•
Select Edit, and then select . (At this point, the white part of the layer becomes transparent.)
•
Select Adjust line width in Correct line.
•
Select the numerical values to be modified with Thicken and Narrow.
•
Use Correct line brushes to where you would like to change the brush thickness.
.png&blockId=1b52d6d9-32f1-40c9-ba70-cf88da1ddab3)
2-5. Default usage for the ‘speech bubble’ brush
•
Drag the speech bubble brush to the selected text to create the speech bubble in the desired size.
•
It is also possible to create the speech bubble and then add text, in the opposite way.
•
Click object to change the size, color and position of the speech bubble and text.
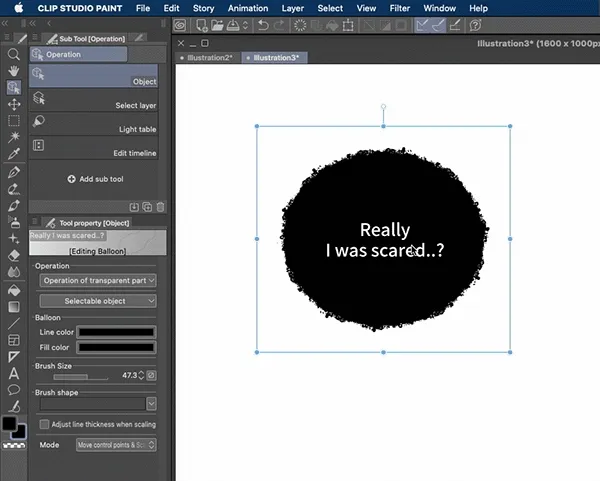
2-6. Size adjustment for the ‘speech bubble’ brush
If you use the brush on a canvas with a size smaller than the standard value of the previously set speech bubble brush, no shape will appear. If the shape of the speech bubble does not come out as expected, change the property value to use the brush as originally it is.
•
Select speech bubble brush in the brush panel.
•
Select operation and object to adjust the property.
•
Use the brush size, length, and height - 3 properties to create a shape that fits the size of the canvas.
3. How to use the Vector Layer
3-1. Adjust the whole thickness of the vector layer
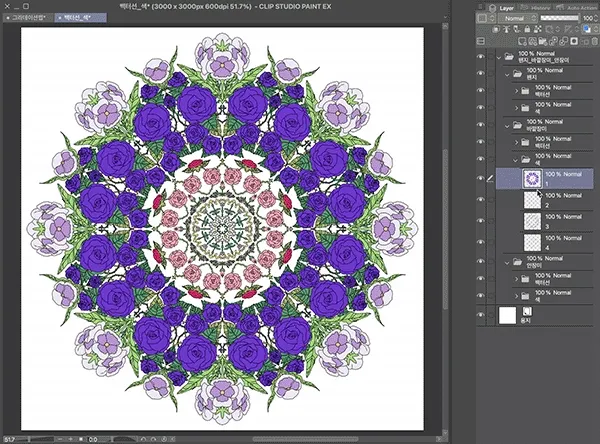
Clip Studio files have separate layers by each part.
•
Select vector line layer.
•
Select and hold the layer, and press O (Alphabet) key, then Object panel will be opened.
•
Adjust the brush size in the Tool property panel created below.
3-2. Adjust a part of the thickness of the vector layer
•
Select vector line layer.
•
Select Adjust line width in Correct line (shortcut key: Y).
•
Use Narrow to make a line thinner.
•
Use Thicken to make a line thicker.
4. How to use the Gradient Map
4-1. Preparing the gradient map
•
Open a gradient file(clip) and check a gradient map layer.
•
Double-click a gradient map icon. (Located next to hide layers)
•
Use Duplicate selected gradient to add Gradient set.
•
Click OK button after adding the gradient map to save the setting.
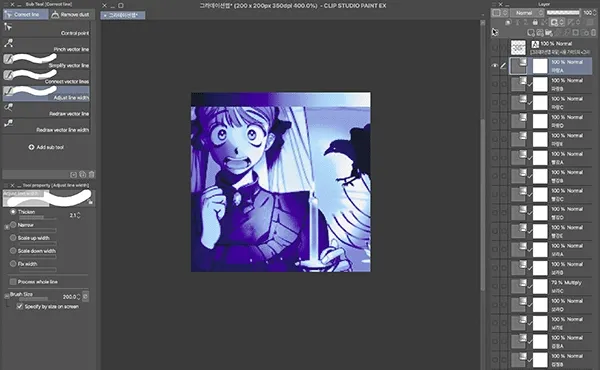
4-2. How to use the gradient map
The gradient map is a feature that analyzes the contrast of a picture and changes the color to a gradient color. If you applied the gradient map to Clip Studio according to the ‘Preparing a gradient map’ guide (4-1), It can be used in the following way.
•
Select the image layer that you would like to correct colors.
•
Select Edit > Tonal Correction > Gradient map at the top of the Clip Studio panel.
•
Select the Gradient set list and select a previously imported Gradient set.
•
Select the Gradient map that you want and click OK to apply materials.
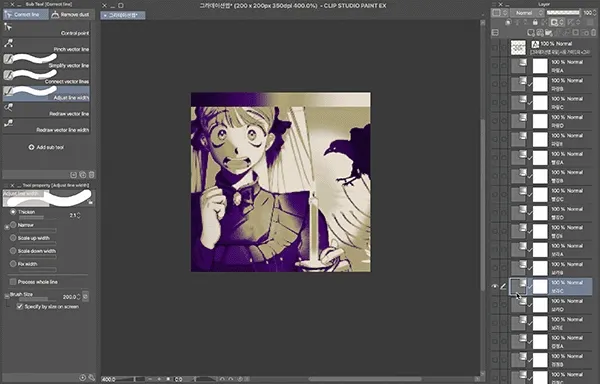
Reference: You can use the image with the gradient map applied as it is, but it is possible to create a more natural image by lowering the transparency or changing the blending mode.
5. Other usages
Changing the layer color
•
Select the layer which you would like to modify the color in a folder.
•
Use Ctrl+U to import Hue/Saturation/Luminosity control bar.
Changing the color of a part with brushes
•
Create a New Raster Layer on the Layer that you would like to change.
•
Set Clip to Layer Below in New Raster Layer.
•
Color some areas with the selected brush.